The Cnc Machining Process of Spiral Bushing
|
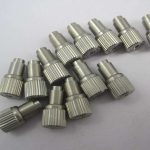
The CNC machining of equipment and anticorrosive spiral bushings is used in the localization of imported equipment parts, and a new idea that is completely different from traditional machining is proposed, which can provide for the CNC machining and CNC program design of complex parts. The double-end accelerating screw shaft sleeve is an important part of the extruder rod of a pelletizer in a plastic factory. The original part is imported from abroad. In order to meet the needs of localization of imported equipment, the machine factory surveyed and mapped this part. The specific shape of the spiral bushing is represented by two spiral lines on the cylindrical surface, the pitch of which changes at an equal acceleration with the distance between the spiral line and the right end, and each spiral line is composed of five segments that change in form. This kind of spiral curved surface has a particularly complex shape and high dimensional accuracy requirements. Such a complex curved surface is difficult to complete by ordinary machining methods. |
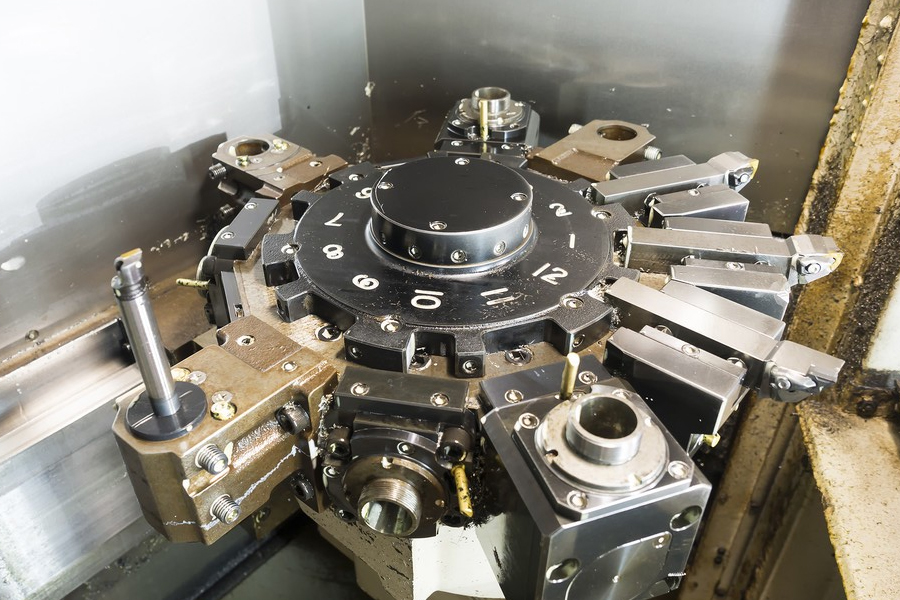
CNC machine tools are modern equipment that incorporates many advanced technologies and can realize CNC machining of complex curved surfaces. Through derivation, a one-dimensional computer search for mathematical calculations determines the inflection point, discretizes the complex continuous surface into several tool position control points, and further fits the continuous curve to achieve continuous control. Based on such a mathematical model, an NC program was compiled, and a qualified spiral axis was milled using the four-axis linkage function of the machining center machine tool.
Mathematical model of spiral bushing and related numerical analysis. The original spiral bushing is imported from abroad. The design process is unknown. If the position of the spiral and the shape of the curved surface change during manufacturing, the mechanical properties of the plastic will change during extrusion. Therefore, strictly follow The size of surveying and mapping can be processed to meet the original design and use requirements.
11. Mathematical model According to the surveying and mapping results of the design room of the machinery factory, the spiral line conforms to the square X: the distance between the center of the spiral line and the right end surface of the part, mm; As shown, at the inflection point a to b, the spiral width changes from 22mm to 34mm; at the inflection point c to d, the spiral width changes from 34mm to 45mm. Our goal is to remove the metal between the two spirals and keep the spiral Assuming that the width of the spiral is zero and the diameter of the tool is zero, the corresponding any A has: Shown is one of the spirals: 1, 5 is the tool center path; is the edge of the spiral where the R30 arc is located; is the center of the spiral ; 4 is the edge of the spiral where the R 16 arc is located.
12 The determination of the tool compensation amount considers the spiral width and the tool radius. Any point on the tool path is: center=/+Ax, that is, there is a one-to-one correspondence between the point on the tool path and the point on the center of the spiral. As long as the point on the center of the spiral is the mapping origin, and a compensation amount is added to its coordinate values X, Y, Z, the coordinates of the corresponding point on the tool path can be obtained. Using A as a variable to calculate the center trajectory of the milling cutter, there are: R: the radius of the ball cutter; H: the tooth width; M: the margin; the slope of the point I, I=(A), the value of I is equal to one of the point on the curve Order derivative; R, the radius of the workpiece.
13 For the numerical analysis, the mapping origin of point a is a. According to the mathematical model we have established, a and a have the following corresponding relationships. After a, make tangents A and B. The slope of the tangent is 1 = I is the curve at this point. The first derivative of, the center of the milling cutter is located at point a2, a2a, AB.
Margin, M=0; K: the slope of this point.
Use the QuickBASIC program to determine the search interval, select the appropriate step size, and perform one-dimensional search multiple times. A point corresponding to 1.4 curved surface fitting calculations can be obtained. Since there is no R30 milling cutter, the R30 arc surface needs to be milled with a smaller radius. The knife is fitted out, and the ball knife is at any position. M=R―R(R―r)cos9AZ, =―Rsin0+1.5―Workpiece arc radius, R=Z-direction compensation; M―surplus.
2 Numerical control program and processing effect
According to the above analysis and calculation, the numerical control processing program is compiled by parameter method. The program includes 3 parts:
- (1) The processing program of the curved surface where the R30 arc is located;
- (2) The processing program of the curved surface where the R16 arc is located;
- (3) The processing program for milling the middle part of the two spirals. For the convenience of the relevant personnel, only the processing procedures for the curved surface where the R 16 arc is located are listed: We use the above three sets of NC procedures in practice, and the value of 84cl70S560e9Ar is also used to replace the equipment with the spiral sleeve and the anti-corrosion catalytic cracking unit. The purpose of analyzing the cause of corrosion of the heat exchanger shell ensures the normal operation of production equipment and provides experience for handling equipment accidents under similar operating conditions.
In the petrochemical industry, the waste heat of each distillate oil in the rectification tower is often used to heat various industrial raw materials that need to be heated to achieve the purpose of energy saving and consumption reduction. The H204 heat exchanger of the catalytic cracking unit of Qingdao Petrochemical Plant uses the oil slurry at the bottom of the fractionation tower to heat the softened water to achieve the purpose of producing steam. Since the heat exchanger was put into use in 1992, shell leakage occurred twice from 1996 to 1997. The interval between the two uses of less than half a year greatly affected the normal operation of the production and increased the production cost. In order to fundamentally solve this problem, it is necessary to explore the causes of its corrosion in order to prescribe the right medicine to solve this problem.
On-site investigation of the leakage of the heat exchanger shell is near the pipe box flange and the welding seam of the shell. A slight corrosion pit was observed after on-site polishing, which is strip-shaped along the welding seam, with an area of about 2cm2. There are 4 more The crack is perpendicular to the circumferential weld, with a width of about 0.2cm and a length of about 40~60cm. Three of them penetrate the weld and have broken through the shell.
At the same time, we took out two pieces of sediment from the heat exchanger shell on November 30, 1996, and the sediment was hard and brittle. One piece is basically off-white with black material on the surface, about 15mm thick. The other piece is divided into two layers, the bottom layer is reddish-brown, about 20mm thick, and the upper layer is gray-white and porous, about 10mm thick, and there are black objects on the surface. After experiments, the two sediments both emit gas in acid. Both sediments are soluble in water. After dissolution, the bottom is soft muddy sediment, and the upper part is a layer of black oil. X-ray diffraction analysis of the two sediments revealed that most of the sediments were chloride, hydroalkali and ferrite. The analysis data is shown in Table 1. College of Engineering, and now the Qingdao Petrochemical Plant Mobile Office is engaged in equipment management. Tel: This shows that the design of the program is very successful. At the same time, the program design is >ublishingHouse.Allrightsreserved. A difficult problem that is difficult to achieve by ordinary machining methods. The spiral surface processed by CNC machining methods has high precision, good consistency and only surface It can be filed and polished properly by fitter.
3 Conclusion
Such a complicated spiral sleeve is an original part on imported equipment, and it is rare in actual processing. Importing one thread requires a lot of foreign exchange and needs to be booked in advance. MITSUBISHI machining center machine tools were newly imported equipment from foreign countries by our factory at that time, and it was quite difficult to realize the localization of spiral bushings. The CNC machining of 4 spiral bushings has been completed by using this program, and the use condition is good. The method of establishing the mathematical model, the actual calculation method of the contact between the tool and the workpiece, the method of omni-directional correction of the tool relative to the workpiece, and the method of surface fitting, can provide reference for the future complex shape surface program design.
Link to this article: The Cnc Machining Process of Spiral Bushing
Reprint Statement: If there are no special instructions, all articles on this site are original. Please indicate the source for reprinting:https://www.cncmachiningptj.com/,thanks!
 PTJ® provides a full range of Custom Precision cnc machining china services.ISO 9001:2015 &AS-9100 certified. 3, 4 and 5-axis rapid precision CNC machining services including milling, turning to customer specifications,Capable of metal & plastic machined parts with +/-0.005 mm tolerance.Secondary services include CNC and conventional grinding, drilling,die casting,sheet metal and stamping.Providing prototypes, full production runs, technical support and full inspection.Serves the automotive, aerospace, mold&fixture,led lighting,medical,bicycle, and consumer electronics industries. On-time delivery.Tell us a little about your project’s budget and expected delivery time. We will strategize with you to provide the most cost-effective services to help you reach your target,Welcome to Contact us ( [email protected] ) directly for your new project.
Link to this article:The Cnc Machining Process of Spiral Bushing
Reprint Statement: If there are no special instructions, all articles on this site are original. Please indicate the source for reprinting:Tungusten,Thanks!^^

