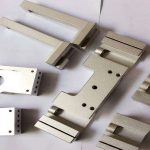
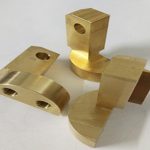
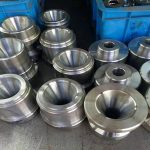
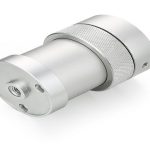
The machining accuracy of machining is the degree of conformity between the actual size, shape and position of the three geometric parameters of the workpiece surface after machining and the ideal geometric parameters required by the drawings provided by the customer. When performing machining, in addition to knowing what the testing standards of machining are and what are the commonly used inspections for machining, we also need to know how machining accuracy is measured, so how to measure machining accuracy?
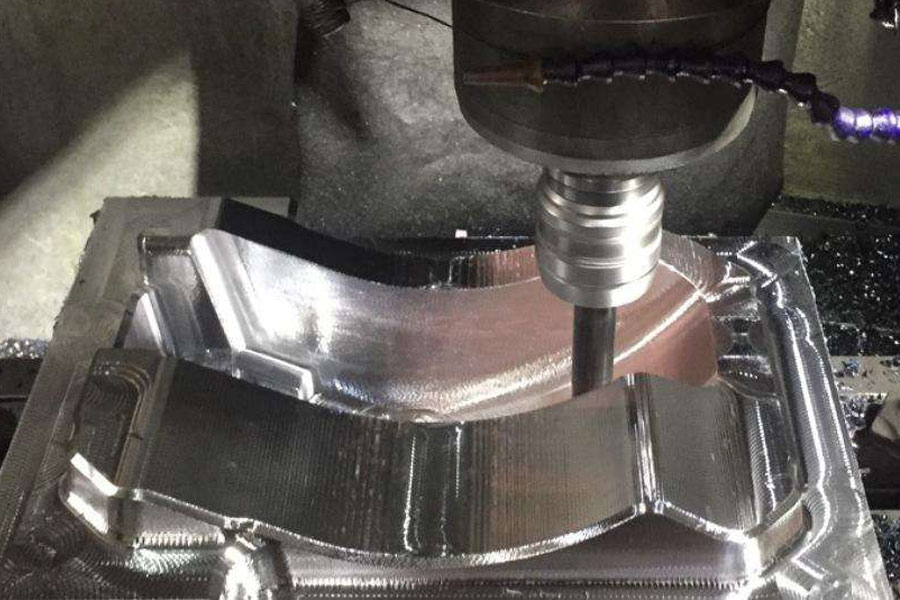
1. According to whether the measured parameter is directly measured, it can be divided into direct measurement and indirect measurement.
Direct measurement: directly measure the measured parameter to obtain the measured size. For example, use calipers and comparators to measure.
Indirect measurement: Measure the geometric parameters related to the measured size, and obtain the measured size through calculation.
Obviously, direct measurement is more intuitive, and indirect measurement is more cumbersome. Generally, when the measured size or direct measurement fails to meet the accuracy requirements, indirect measurement has to be used.
2. According to whether the reading value of the measuring tool directly represents the value of the measured size, it can be divided into absolute measurement and relative measurement.
Absolute measurement: The reading value directly indicates the size of the measured size, such as measuring with a vernier caliper.
Relative measurement: The reading value only indicates the deviation of the measured size from the standard quantity. If you use a comparator to measure the diameter of the shaft, you need to adjust the zero position of the instrument with a gauge block first, and then perform the measurement. The measured value is the difference between the diameter of the side shaft and the size of the gauge block. This is a relative measurement.
Generally speaking, the relative measurement accuracy is higher, but the measurement is more troublesome.
3. According to whether the surface to be measured is in contact with the measuring head of the measuring tool, it is divided into contact measurement and non-contact measurement.
Contact measurement: The measuring head is in contact with the surface being touched, and there is a mechanical measuring force. Such as measuring parts with a micrometer.
Non-contact measurement: The measuring head is not in contact with the surface of the measured part. Non-contact measurement can avoid the influence of the measuring force on the measurement result. Such as the use of projection method, light wave interferometry and so on.
4. According to the number of measurement parameters, it is divided into single measurement and comprehensive measurement.
Single measurement; each parameter of the tested part is measured separately.
Comprehensive measurement: measure the comprehensive index reflecting the relevant parameters of the part. For example, when measuring the thread with a tool microscope, the actual pitch diameter of the thread, the half-angle error of the tooth profile, and the cumulative error of the thread pitch can be measured separately.
Comprehensive measurement is generally more efficient and more reliable to ensure the interchangeability of parts, and is often used for inspection of finished parts. Single measurement can determine the error of each parameter separately, and is generally used for process analysis, process inspection, and measurement of specified parameters.
5. According to the role of measurement in the processing process, it is divided into active measurement and passive measurement.
Active measurement: the workpiece is measured during the processing, and the result is directly used to control the processing of the part, so as to prevent the generation of waste in time.
Passive measurement: the measurement performed after the workpiece is processed. This kind of measurement can only judge whether the machined parts are qualified, and is limited to discovering and rejecting waste products.
6. According to the state of the measured part in the measurement process, it is divided into static measurement and dynamic measurement.
Static measurement; the measurement is relatively static. Such as a micrometer to measure the diameter.
Dynamic measurement; during measurement, the measured surface and the measuring head move relative to each other in the simulated working state.
The dynamic measurement method can reflect the situation of the part close to the use state, which is the development direction of measurement technology.
The ideal geometric parameters of machining accuracy of machining are the average size for the size; for the surface geometry, it is the absolute circle, cylinder, plane, cone and straight line, etc.; for the mutual position between the surfaces, It is absolutely parallel, perpendicular, coaxial, symmetrical, etc. The deviation of the actual geometric parameters of the part from the ideal geometric parameters is called the machining error.
Link to this article:How To Measure Cnc Machining Accuracy
Reprint Statement: If there are no special instructions, all articles on this site are original. Please indicate the source for reprinting:https://www.cncmachiningptj.com/
 Sheet metal, beryllium, carbon steel, magnesium, 3D printing, precision CNC machining services for heavy equipment, construction, agriculture and hydraulic industries. Suitable for plastics and rare alloys machining. It can turn parts up to 15.7 inches in diameter. Processes include swiss machining,broaching, turning, milling, boring and threading. It also provides metal polishing, painting, surface grinding and shaft straightening services. The production range(include aluminum die casting and zinc die casting) is up to 50,000 pieces. Suitable for screw, coupling, bearing, pump, gearbox housing, drum dryer and rotary feed valve applications.PTJ will strategize with you to provide the most cost-effective services to help you reach your target,Welcome to Contact us ( [email protected] ) directly for your new project.
Link to this article:How To Measure Cnc Machining Accuracy
Reprint Statement: If there are no special instructions, all articles on this site are original. Please indicate the source for reprinting:Tungusten,Thanks!^^

