With the rapid development of the automobile industry and the demand for lightweight automobiles, the die-casting parts of aluminum, magnesium and other alloys have increased significantly, providing a broad prospect for the further development of the die-casting industry. Due to the demand for lightweight parts, the requirements for alloy material performance, product structure and process design and control are more stringent.
The requirements for die-casting parts of various automobile factories are becoming more and more stringent. The porosity requirements of die-casting parts are generally 5%-10%, and the requirements for certain parts are even as high as 3%. For the detection method and detection position of die casting defects, it is possible to use computer simulation analysis to conduct experimental research during the selection of die casting machine, mold design and process design, and use P-Q2 software for optimization.
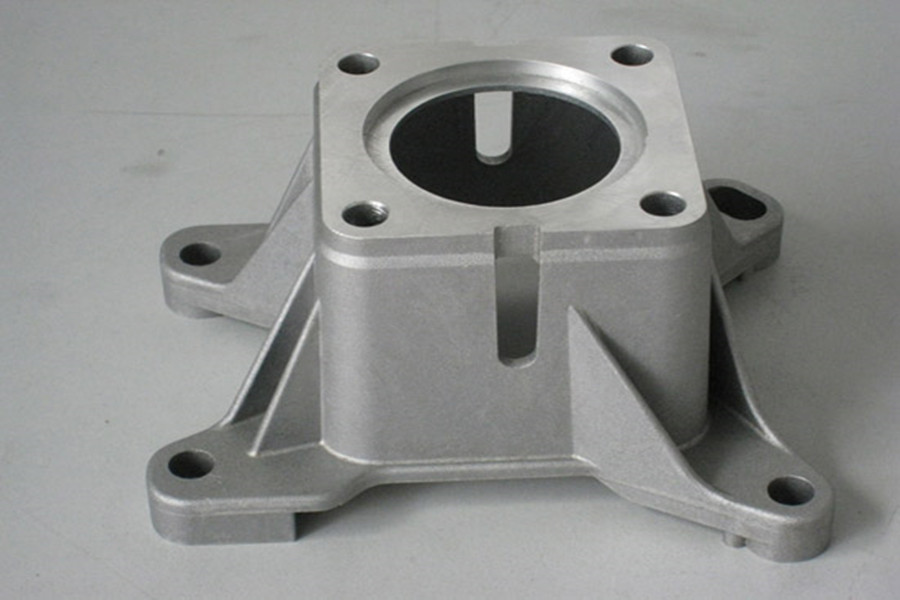
The pores, shrinkage holes and slag hole defects of die castings occur inside the castings, and the reasons for the defects are different. In order to eliminate defects, it is critical to identify the types of defects and analyze their causes, and the tools and methods of inspecting parts will affect the final judgment. Below, the author only discusses how to solve the problem of pores in aluminum and magnesium alloy die-casting.
1. Stoma check
For the pore inspection of die castings, several positions must be considered:
①The maximum stress position of finite element analysis;
②Parts simulation analysis of entrainment position;
③Key parts of parts (such as sealing surface, etc.).
Generally, die-casting parts can be inspected by X-ray; after defects are found, the parts are cut for further inspection. In process control, it is controlled according to ASTM E505 level 2, and the key parts should be controlled according to ASTM E505 level 1.
The stomata generally have a smooth surface, round or oval, sometimes isolated, sometimes clustered together. Figure 1 shows the pore surface of a die-casting part.
The shrinkage cavity and shrinkage porosity are irregular in shape, and the surface color is dark and not smooth. Under the microscope and electron microscope, it can be found that there is a dendritic structure at the defect position.
2. Stoma formation
2.1. Hydrogen pores
Figure 3 shows the hydrogen pores. The hydrogen pores are tiny, needle-shaped, and evenly distributed, which can be observed after the surface of the part is processed. Due to the thin wall of the die-casting, the solidification rate of the molten metal is fast, and sometimes the hydrogen gas pores are difficult to observe with the naked eye. Water vapor is the main source of hydrogen, which may come from furnace gas, smelting tools, aluminum ingots/recycled parts, oil-contaminated machining chips and wet refining agents.
Usually aluminum alloy die-casting adopts rotary degassing device (see Figure 4). The gas source generally uses argon, nitrogen or chlorine. The gas is introduced into the molten metal and cut into a large number of tiny bubbles through the rotor. Due to the difference in concentration between the inside and outside of the bubbles, hydrogen is sucked into the bubbles and discharged out of the molten metal together (see Figure 5).
The degassing effect is affected by factors such as equipment, gas selection, degassing rotor speed and degassing time, and is measured by detecting the density of the molten metal after degassing. Collect a certain amount of aluminum liquid and pour it into a small crucible, put it into a decompression chamber, solidify under reduced pressure, and weigh in air and water respectively, and then obtain the relative density of the sample according to the following formula.
In the formula, ρs is the relative density of the solidified sample; ma is the mass of the sample in air, g; mw is the mass of the sample in water, g.
2.2. Wind stomata
The air vents are round, clean inside, and the surface is relatively smooth and shiny. The air sometimes exists alone or clustered together. Figure 6 and Figure 7 are the macroscopic and scanning electron microscopic features of wind stomata. Entrainment generally occurs in the punch system, runner system and cavity.
2.2.1 Entrainment of punch system
In the process of molten metal flowing from the pressure chamber or gooseneck to the inner gate, a lot of air will be drawn in. The general die casting process cannot change the turbulent liquid flow pattern, but the feed system can be improved to reduce the volume of entrainment of the molten metal to the inner gate.
For cold chamber die casting, the degree of fullness should be considered, that is, the ratio of the amount of liquid metal poured into the cold chamber die casting machine to the volume of the pressure chamber. When designing process parameters, the fullness should be greater than 50%, preferably 70%-80%. Figure 8 shows the relationship between fullness and entrainment volume of a die-casting part.
In the process of die-casting machine selection and mold design, it is generally calculated by P-Q2 software (P is pressure, Q is flow), and the appropriate pressure chamber size and fullness are selected. After the size of the shooting barrel is determined, the pouring speed from the ladle to the shooting barrel should be considered. If the fullness is less than 50%, the upper space of the pressure chamber is large, and the molten metal will generate waves and reciprocate between the punch and the die. When the punch starts to move forward, the reflected waves from the front of the punch and the middle of the shooting tube merge, and turbulence and entrainment will occur. In this way, the porosity of the casting is increased, and the liquid metal in the pressure chamber will be chilled at the same time, which is unfavorable for filling.
The best solution is that the punch has started to move before the metal wave reflects, that is, the direction of the punch and the initial wave is the same, which can greatly reduce entrainment. In addition, use P-Q2 software to select more reasonable design parameters to meet at least 50% fullness.
In the process of product development and design, the following process factors should also be considered: ①For cold chamber die casting, including pouring speed, injection delay time, low-pressure injection acceleration, gate speed, gate to low-speed injection switching point, Low pressure injection speed and fast injection starting point; ②For hot chamber die casting, it includes the switching point from low pressure injection acceleration, low pressure injection speed to fast injection. Adjust and monitor the above parameters appropriately to minimize the degree of entrainment.
2.2.2. Entrainment and exhaust of runner system
At the speed of 64-160km/h, once the molten metal encounters a change in the shape of the runner, the impulsive force will cause the molten metal to produce a vortex, resulting in entrained air hole defects.
To solve this kind of entrainment by rationally designing the shape of the runner, it is necessary to ensure that the molten metal is stable during the entire filling process, and the curve and size of the runner must be reasonably selected.
2.2.3 Cavity entrainment
To reduce the defects of cavity entrapment and air holes, it is necessary to ensure that the design of the overflow system is reasonable and the exhaust is unobstructed. Figure 9 shows an overflow system for a die casting. The overflow system is composed of overflow grooves, exhaust grooves and overflow channels.
The overflow system should ensure the discharge of the front-end gas of the molten metal. Z-shaped or fan-shaped exhaust is usually used, and the depth is shallow and located at the edge of the mold to avoid jetting.
The overflow groove and the exhaust groove are generally set at the final filling position of the liquid metal. The position can be determined by mold flow analysis while ensuring sufficient exhaust size; the exhaust groove on the parting surface is usually set at the back end of the overflow groove , To enhance the effect of overflow and exhaust. The tooth-shaped exhaust duct has a good exhaust effect. When designing the mold, it is best to ensure that there is at least one tooth-shaped exhaust duct.
Vacuum die casting will help solve such problems. Before the molten metal arrives, the vacuum system has already begun to operate. In the operating standard, the time for the punch to reach the vacuum valve from the gate should be monitored. Generally, it should be at least 1 second. Sometimes it is necessary to adjust the starting position of the low-speed injection.
In traditional die-casting, the overflow groove and exhaust system are used, and the initial pressure at the inner gate can reach 180kPa, and the final filling can reach 400kPa; in vacuum die-casting, a vacuum channel and a vacuum valve are used to reach the initial pressure at the inner gate. 20kPa, the final filling can reach 18kPa. Generally, under vacuum conditions, the gas pressure in the cavity reaches 2-7kPa; and under no vacuum conditions, the gas pressure in the cavity reaches more than 300kPa. Therefore, the vacuum technology can effectively reduce the pressure in the cavity.
In the process design, pay attention to the following points:
①The runner system should avoid square corners and ensure the smooth surface of the runner;
②The overflow system should be designed in the best position to ensure that it reaches the edge of the mold, and the exhaust area is sufficient and guaranteed Exhaust adequately;
③The vacuum system is set on the key surface and the connection part to avoid leakage and interference from the surrounding environment; the size of the vacuum channel is correct, especially at the entrance of the cavity; the pressure in the cavity is measured and monitored, and if it exceeds the monitoring range, an alarm And automatically scrap parts; the vacuum valve works normally; the vacuum system is cleaned regularly.
2.2.4. Simulation analysis
The simulation technology of the die-casting process can simulate the filling process (flow field) of the casting to predict the air entrainment in the shooting barrel, runner and cavity. The numerical simulation of the casting filling process can help the technicians to effectively predict the size, location and occurrence time of the various entrainment pressures that may occur in the casting process, thereby optimizing the casting process design, ensuring the quality of the castings, and shortening Trial production cycle reduces production costs. Figure 10 shows the simulation analysis of a certain die-casting gas entrainment, and the actual pore position is consistent with the entrainment position of the simulated flow field analysis.
When the mold parameters and process parameter design change, the simulation analysis should be re-run and carefully evaluated to ensure the effective operation of the overflow system.
2.3. Water vapor pores
In appearance, the water vapor pores are generally round, gray, dim, uneven and dry scaly, as shown in Figure 11. If this feature occurs, check the release agent spraying and mold cooling water pipe leakage.
When molten metal encounters water during the filling process, water vapor is formed. In the process of converting water into steam, expansion occurs. At the location of the water droplets, water vapor bubbles are formed. The space occupied by the bubbles is about 1500 times that of the original water droplets. The gas is difficult to discharge through the overflow system, exists somewhere in the metal, and its location is difficult to predict.
About 98% of the general water vapor pores come from die-cast coatings. Mainly occurs in the following die-casting process: ①Too much water-based paint is sprayed on the mold, and when the mold starts to close, the cavity is not completely dry; ②The water pipe leaks;
③The water pipe connection thread leaks;
④The mold cracks and water seeps in;
⑤When the mold is closed, the water droplets on the upper end of the mold flow into the cavity;
⑥The water-based hydraulic fluid remains on the mold.
Link to this article: Die casting porosity analysis and solutions
Reprint Statement: If there are no special instructions, all articles on this site are original. Please indicate the source for reprinting:https://www.cncmachiningptj.com/,thanks!
 PTJ® provides a full range of Custom Precision cnc machining china services.ISO 9001:2015 &AS-9100 certified. 3, 4 and 5-axis rapid precision CNC machining services including milling, sheet metal to customer specifications,Capable of metal & plastic machined parts with +/-0.005 mm tolerance.Secondary services include CNC and conventional grinding, laser cutting,drilling,die casting,sheet metal and stamping.Providing prototypes, full production runs, technical support and full inspection.Serves the automotive, aerospace, mold&fixture,led lighting,medical,bicycle, and consumer electronics industries. On-time delivery.Tell us a little about your project’s budget and expected delivery time. We will strategize with you to provide the most cost-effective services to help you reach your target,Welcome to Contact us ( [email protected] ) directly for your new project.
Link to this article:Die casting porosity analysis and solutions
Reprint Statement: If there are no special instructions, all articles on this site are original. Please indicate the source for reprinting:Tungusten,Thanks!^^

